AI for Quality Control That Actually Knows Your Defects
AI for quality control only works when it’s trained on your product’s real defect population. Learn how to design product-specific QC AI that actually pays off.
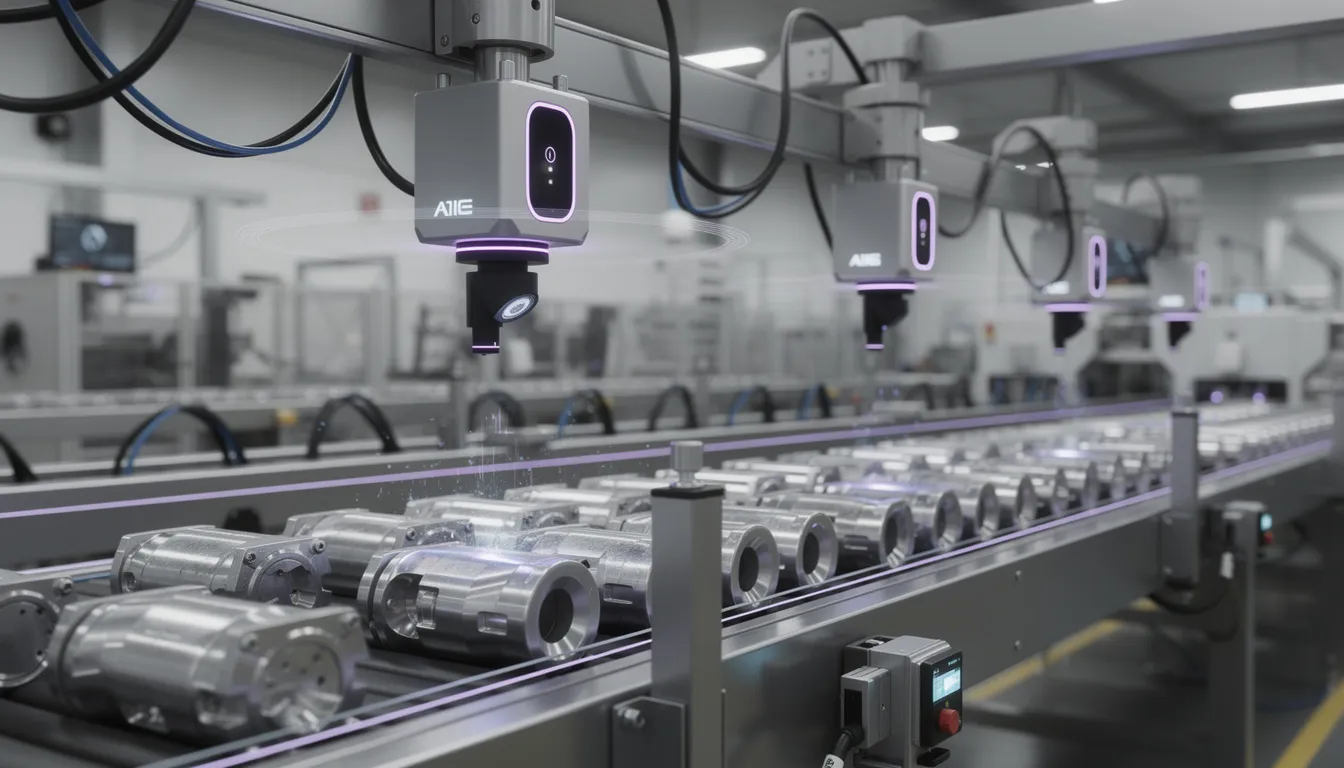
Most AI for quality control systems fail for a simple reason: they’ve never seen your defects. Vendors train models on neat, generic defect datasets, then deploy them into messy plants where the real defect population looks nothing like the training data. On paper the models score 98% accuracy; on the line they miss the hairline crack that becomes a warranty claim—or a recall.
When you look closely, this isn’t a technical problem as much as a data problem. Generic, pre-trained defect models are optimized for the wrong universe of defects, so their impressive numbers hide an ugly truth: they’re blind to low-frequency, high-impact, product specific defects. If you care about reputation, safety, and margin, that’s unacceptable.
In this article, we’ll reframe how to think about AI for quality control in manufacturing around one core concept: your defect population. We’ll walk through how to do serious defect population analysis, build product-specific datasets, choose the right model strategies, and implement AI without disrupting production. Along the way, we’ll show how we at Buzzi.ai approach QC AI as a product- and plant-specific system, not a one-size-fits-all tool.
Why Generic AI for Quality Control Misses the Defects That Matter
The accuracy illusion: 98% on the wrong defects
When you see a demo for AI for quality control, you’ll often hear something like: “Our model reaches 98% accuracy on benchmark X.” The catch is that benchmark X rarely looks like your actual line. It’s usually a clean, balanced dataset with a handful of obvious defect types—nothing like the noisy, drifting mix of issues in real manufacturing quality control.
This is why generic AI defect datasets fail in quality control. Models trained on them get very good at spotting easy, frequent defects that exist in those datasets, and very bad at catching subtle, rare, but critical ones that dominate your risk. The accuracy metric averages all classes together, so the model can look great on paper while quietly failing the defects that matter most.
In quality assurance, the failure modes are asymmetric. A false positive (flagging a good part as bad) is annoying and costs scrap or rework. A false negative (letting a bad part pass) can cost a customer, a line stoppage, or a recall. Traditional quality assurance metrics like overall accuracy hide that asymmetry; they don’t tell you how often your model misses a hairline crack that only appears once in every 10,000 parts.
Consider a consumer electronics housing with ultra-tight cosmetic and structural requirements. A generic model might nail the obvious dents and scratches while missing micro-cracks around a screw boss that only occur with a certain combination of supplier material and worn tooling. On a balanced test set it’s a 98% model. On your line, it’s a system that lets your most dangerous defects escape.
McKinsey estimates that the cost of poor quality—scrap, rework, returns—can run from 5–15% of revenue in manufacturing-heavy industries (source). If your AI quietly increases false negatives on critical classes while lowering false positives on trivial ones, it might look like progress in the lab but destroy value in the plant.
Your defect population is not in any public dataset
To fix this, we have to start from a more honest concept: your defect population. Think of it as the full universe and frequency distribution of defects that actually occur on a given product and process—not what’s convenient to photograph in a generic lab. Defect population analysis means mapping what really goes wrong, how often, and how much it hurts.
No public dataset captures that. Your materials, suppliers, tooling wear patterns, operator habits, and line setups create a unique fingerprint of product specific defects. A computer vision model trained on steel surface scratches from another industry won’t magically generalize to your anodized aluminum, or your coated composites, without deliberate domain adaptation and new data.
This is where off-the-shelf computer vision quality inspection models run into a wall. They’ve internalized patterns from someone else’s production reality. When your plant switches to a new coating or a new supplier, new defect modes appear: different glare, different texture, different crack morphology. Until you retrain or adapt the model with your data, it simply doesn’t “know” these defects exist.
We’ve seen lines change a single upstream parameter—say, a cleaning step or a coolant mix—and trigger an entirely new film contamination mode. No generic model caught it until the plant captured fresh images, relabeled, and updated their defect detection model. Without that, every part with this new defect looked “normal” to the AI.
The business risk of missing product-specific defects
Missed defects are not an abstract ML problem; they are a P&L problem. When an AI system lets bad parts pass, the impact shows up as scrap, rework, field failures, warranty claims, and in the worst case, recalls. Any gain in inspection speed or labor savings from quality control automation is instantly wiped out by a batch escape.
Take a typical auto or industrial component line. A single lot of 1,000 parts with a missed structural defect could result in dozens of field failures. At even $200 per claim in direct costs—and far more in brand damage—that batch could easily cost $200,000. Building a product-specific QC AI model tailored to your defect population might cost a fraction of that, and then keep paying dividends through scrap rate reduction and higher first pass yield.
In regulated sectors like automotive (IATF 16949), aerospace, or medical devices, the stakes are even higher. Here, a missed rare defect isn’t just expensive; it’s a compliance and safety risk. Auditors don’t care how “smart” your AI is; they care whether your manufacturing quality control process reliably prevents escapes and supports defensible root cause analysis.
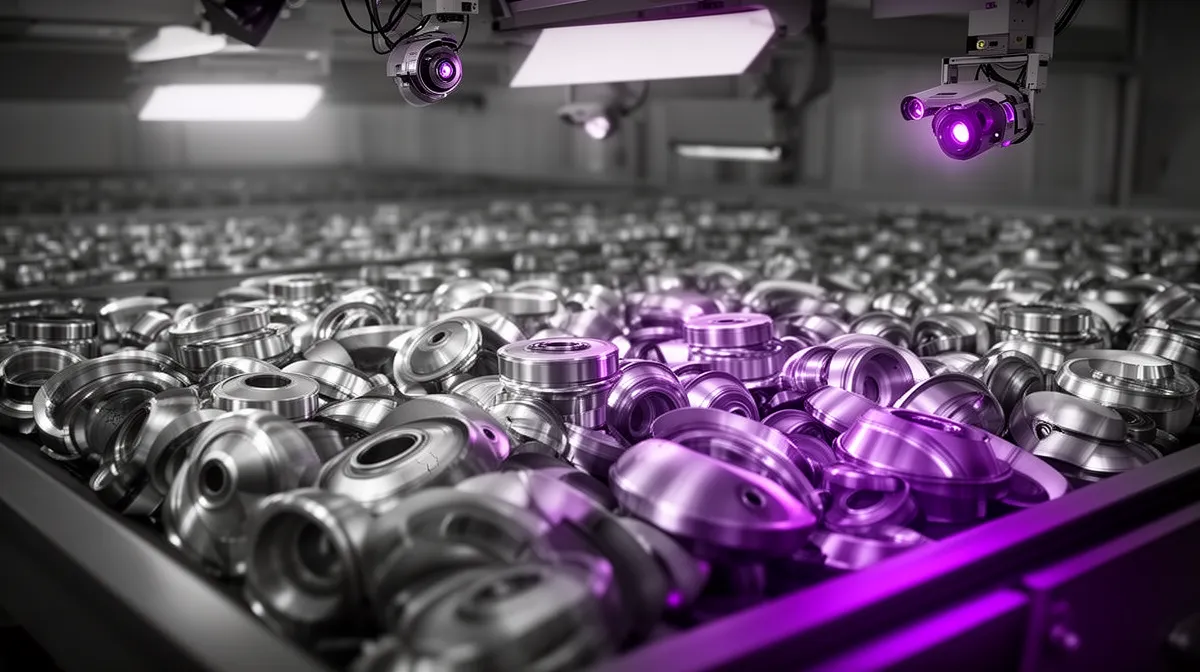
Defect Population 101: Mapping the Real Universe of Your Defects
What is a defect population?
Most plants have a defect list; very few have a defect population model. A list is a flat catalog: scratches, dents, voids, misalignment. A defect population adds structure: for each defect mode, how often does it occur, how severe is it, on which product variants, under what conditions?
Formally, your defect population is the set of all observed (and plausible) defect modes for a product and process, plus their probability and severity distributions. It’s the statistical and contextual layer that sits on top of the raw categories. Good defect population analysis is the foundation for any serious product specific AI quality control solutions.
For example, consider a stamped metal bracket. Your population might include: micro-cracks at a bend radius (rare, safety-critical), burrs on edges (common, reworkable), surface corrosion spots (medium-frequency, field-failure risk), and cosmetic scratches (frequent, mostly internal impact). Now you’re not just doing surface defect detection; you’re assigning risk and context.

Notice how this goes beyond a simple defect checklist. The population view lets you say: micro-cracks are just 0.2% of all defects, but they account for 40% of expected field failure cost. That insight should drive how you train AI, how you tune root cause analysis, and how you design containment plans when something goes wrong.
How to build a structured defect taxonomy
Once you accept that you need a population model, the next step is structure: a defect taxonomy. This is where we turn tribal knowledge into something a quality inspection AI system can actually use. The goal is to end up with stable, well-defined classes that match how inspectors and engineers think.
We often start from existing QC manuals, checklists, and nonconformance codes. From there, we group defects by zone or feature (edge, surface, hole, weld), by mechanism (crack, scratch, contamination, deformation), by appearance (linear, spot, cloud), and by impact (safety, function, cosmetic, internal-only). This is also where visual inspection automation meets human understanding.
The people who know your defect population best are your line inspectors, quality engineers, and manufacturing engineers. A focused workshop can be extremely productive: lay out real parts, real photos, and sticky notes. Ask: which defects are actually different, which are just appearance variations, which should share a class for a custom defect classifier? In a few hours, you can turn scattered experience into a shared taxonomy.
Prioritizing defects by customer and business impact
Not all defects are created equal. To make smart investments in industrial AI, you have to weight defects by severity and business impact, not just frequency. That means scoring each defect mode on dimensions like safety impact, functional impact, cosmetic impact, and internal-only impact.
Then map those to cost categories: scrap, rework, line downtime, field failures, returns, lost orders. A cosmetic blemish on a high-end consumer product might be high-severity because it hits your brand; the same blemish on an internal bracket might be low. Meanwhile, that rare structural crack is always top priority, no matter how infrequent, because of the catastrophic downside.
This is the lens that should drive AI priorities: which defects deserve the most attention in data collection, labeling, and modeling? Your scrap rate reduction targets and first pass yield goals should be linked directly to these impact-weighted decisions. That’s how you ensure your quality assurance metrics reflect what customers, auditors, and CFOs actually care about.
Standards like ISO 9001 and IATF 16949 already push you toward structured defect classification and risk-based thinking (ISO 9001). A good defect population model brings that spirit into the data that will power your AI systems.
Designing Product-Specific Datasets for AI Quality Control
From defect taxonomy to data requirements
Once you have a structured taxonomy and population view, you can finally talk concretely about your training dataset. Each defect class translates into specific data requirements: how many images, across which lighting conditions, camera angles, lots, suppliers, and process settings. This is how you move from “AI sounds promising” to “here’s how to train AI for defect detection on my own products.”
Inline vs offline inspection matters here. Inline ai quality control for visual defect inspection must handle motion blur, conveyor vibration, and changing ambient light. Offline or lab inspection can use slower, higher-resolution imaging. Surface defects might be well-served by 2D cameras; structural issues might require X-ray, thermal, or other modalities.
For each class in your taxonomy, you can write down a target: e.g., 100–300 diverse images for stable, high-impact defect types; 50–100 for lower-impact classes as a starting point. Then you weight those targets by your impact analysis: the highest-risk defects get the broadest coverage and the earliest data collection.
Collecting and labeling defect images on your line
The next question is practical: where do the labeled defect images actually come from? Most plants already have cameras—AOI systems, safety cameras, even smartphone photos taken by inspectors. These can be tapped as sources for building a product-specific dataset without halting production.
We’ve seen effective approaches that piggyback on existing inline inspection steps or rework areas. For example, adding a temporary camera over a rework bench and letting inspectors capture both good and bad parts with a simple tablet UI. The data flows into a central repository where it can be labeled and curated for the quality control automation effort.
Labeling can be done in-house, outsourced, or managed by a partner—but consistency is everything. You need clear labeling guidelines mapped to your taxonomy, regular spot checks, and version control when definitions change. This is where a strong production line monitoring and data governance process makes your AI reliable instead of brittle.
Balancing rare but critical defects in the dataset
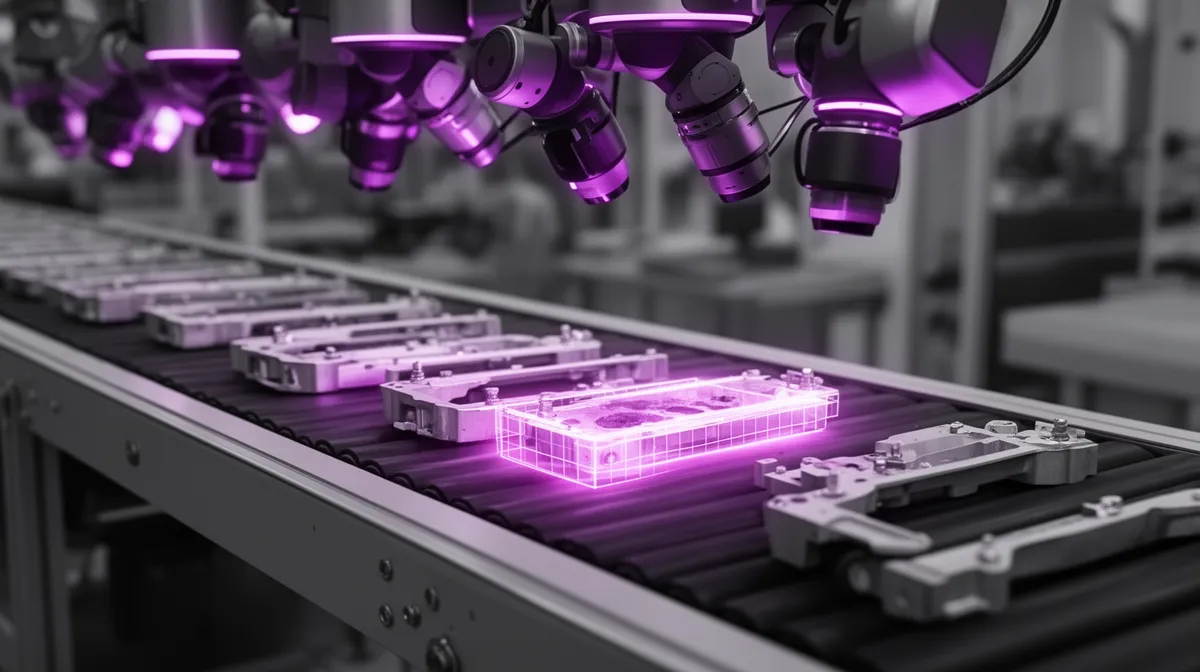
Real-world defect data is almost always imbalanced. Common nuisance defects dominate while rare, critical ones barely appear. Left unchecked, your defect detection model will learn the common stuff very well and remain almost blind to the rare, dangerous defects.
To fix this, we use a simple but powerful trick: separate how you build the training set from how you build the validation and test sets. In training, you can oversample rare, critical defects, do targeted data collection campaigns, or carefully use synthetic augmentation. The goal is to make sure the model sees enough of these examples to learn robust patterns—especially when you later combine this with anomaly detection approaches.
But your validation and test sets should still reflect real-world distributions, or at least be explicitly impact-weighted, to avoid over-optimistic quality assurance metrics. That way you don’t kid yourself into thinking you’ve solved the problem because the rare class looks good on a tiny, over-curated test.
A common pattern: a crack defect that appears in just 0.1% of parts might end up representing 20–30% of your training attention. That’s not a bug; it’s a feature of risk-aware AI design.
How many samples per defect type is “enough”?
Everyone wants a single number, but the truth is: “it depends.” Still, we can give useful ranges for planning. For visually stable, well-defined defect classes on a given product and camera setup, 50–200 diverse, high-quality images per class is often enough to get a reliable first version.
Beyond that, returns diminish. After a few hundred good examples, adding more of the same doesn’t move performance much. Instead, you focus on edge cases: different lighting, new suppliers, new lots, or process changes. You also layer in unsupervised or semi-supervised anomaly detection for truly rare or novel defects that you can’t feasibly enumerate upfront in your training dataset.
The right mental model is: supervised data for known, high-impact defects; anomaly models as a safety net for the unknown unknowns. That’s how you build the best AI quality inspection system for product specific defects—one that isn’t overconfident just because it’s seen a lot of easy cases.
Building QC AI Around Your Defect Population: Model Strategy
Supervised defect classifiers vs anomaly detection
Once you have product-specific data, you can choose the right model mix. Supervised models—your custom defect classifier—are trained on labeled classes from your taxonomy. They excel at known defect types where you have enough examples and clear definitions. This is where most quality inspection AI vendors focus.
Anomaly detection models flip the script: they’re trained mostly on “good” parts and learn what normal looks like. Anything that deviates beyond a threshold is flagged as suspicious, even if it doesn’t match a known defect class. This is powerful for catching new defect modes, process drift, or early-stage issues in a new line with limited defect history.
In practice, the best AI for quality control in manufacturing is a hybrid. For a welding line, for example, you might train supervised models on known weld defects—porosity, undercut, lack of fusion—while running an anomaly model in parallel to catch strange new artifacts when you change wire or gas. For high-stakes surface defect detection, this belt-and-suspenders approach is often worth the complexity.
There’s good academic backing for this pattern: studies comparing supervised and anomaly-based methods for industrial inspection highlight that each has strengths, and combining them yields more robust systems in real plants (example research).
Aligning training, validation, and test sets with reality
Even with good models, you can still lose if your evaluation data doesn’t match reality. Many teams inadvertently build “clean room” test sets: balanced, sanitized distributions that bear little resemblance to the live line. The result: inflated metrics and a nasty shock at deployment.
To avoid this, we align training, validation, and test sets with the real defect population. Training sets may be intentionally skewed to help the model learn; validation and test sets should be constructed with stratified sampling so that critical rare defects are present but still reflect their low frequency. For high-risk classes, we might also track separate, impact-weighted metrics.
When you do this, you’ll usually see performance numbers drop compared to balanced tests—but that’s the point. Better to know in advance that your false negative rate on a critical crack class is 3% than to hide behind a 98% overall accuracy score. This is how you make model generalization honest instead of aspirational, and how you tune real-world quality assurance metrics like false positives and false negatives for production.
Defining success: metrics that reflect what customers care about
If you only track model-level accuracy or F1 score, you’re flying blind. For manufacturing quality control, the success metrics must be defect-level and business-level. At the model layer, you should track recall and precision for each critical defect class, especially those with high severity weights.
At the business layer, focus on first pass yield, scrap rate reduction, and line-level escape rate. Escape rate—how many bad parts reach customers per million produced—is often the single best summary of whether your AI for quality control is doing its job. You can also define impact-weighted error metrics that combine class-specific performance with cost estimates.
Imagine a dashboard where plant leaders see: critical defect recall (per class), false positive rates, scrap and rework trends, and estimated avoided escapes over time. That’s how you connect the dots between bits in the model and dollars in the business.
Inline vs end-of-line: where to place AI inspection
Model strategy also depends on where you deploy it. Inline inspection catches defects earlier, supports rapid feedback loops, and produces rich data for production line monitoring. But it must run at full takt speed, tolerate noise, and integrate tightly with PLCs. End-of-line inspection, by contrast, is a slower, higher-stakes final gate.
A modern ai powered inline quality control system might run a fast anomaly screen at multiple stations, routing suspicious parts to slower, higher-resolution inspection or rework. End-of-line stations might run more detailed supervised classification and dimensional checks. The two layers share data, so you can trace defects back to root causes and update the training dataset as your defect population evolves.
Hybrid architectures are usually best: quick inline AI to prevent process drift and reduce waste, plus rich end-of-line AI to protect customers and close the loop on quality control automation. This is also where you balance inspection throughput with coverage, making sure you don’t choke the line while chasing theoretical perfection.
Implementing Product-Specific QC AI Without Disrupting Production
Start offline: shadow mode before you touch the line
Even the best-designed system shouldn’t take over your line on day one. A safer path is shadow mode: the AI runs in parallel with human inspectors, making its own pass/fail predictions, but the line still follows human decisions. You log disagreements and analyze them.
This shadow period—often 4–8 weeks—is where trust is built. Quality teams see where the AI catches things they miss, and where it struggles. You calibrate thresholds, tune quality assurance metrics, and gather more data for model retraining without risking escapes. For AI for quality control in manufacturing, this phase is not optional; it’s the bridge between lab performance and plant reality.
Over time, as false negatives and false positives converge to acceptable levels for each defect class, you can start automating decisions in low-risk zones while keeping humans in the loop for high-risk calls. This staged rollout respects both safety and psychology.
Integrating with existing AOI, cameras, MES, and QMS
Another misconception is that you need to rip and replace existing systems to add AI. In practice, the most pragmatic approach is to plug AI behind current automated optical inspection (AOI) hardware and cameras. Keep the optics and mechanics you’ve already paid for; upgrade the brains.
Integration typically touches three layers: AOI or camera hardware, MES for production context, and QMS for nonconformance and CAPA workflows. AI inference can run on edge devices near the line, receiving triggers from PLCs and streaming results back to MES/QMS. This keeps computer vision quality inspection upgrades largely invisible to operators.
We often combine this with our workflow and process automation services to ensure that when AI flags a defect, the right containment, rework, and escalation steps happen automatically. Industry whitepapers on brownfield AI integration echo this pattern: APIs, edge nodes, and staged rollouts reduce risk compared to big-bang replacements (see MES-focused guidance).
Governance: monitoring drift and scheduling retraining
No defect detection model stays perfect forever. Materials change, suppliers change, tooling wears, operators rotate. Each of these shifts can change how defects look—or create new ones entirely. Without governance, your industrial AI quietly drifts out of sync with the line.
Governance means monitoring and policy. At minimum, you should track false negatives and false positives over time, by defect class and product family. You should also monitor the mix of detected defects: are new modes appearing? Are known classes changing appearance? When you see drift, you trigger data collection and model retraining.
For example, a plant that switches coating suppliers might suddenly see different glare and texture on surface defects. Within weeks, the AI’s performance may degrade unless you capture new images, expand the dataset, and retrain. A good manufacturing quality control strategy bakes this into process, not as an afterthought.
What a Product-Specific QC AI Project with Buzzi.ai Looks Like
Phase 1: Defect population discovery and ROI model
When we engage with a manufacturer, we don’t start by asking, “Which model do you want?” We start by mapping your defect population. Through workshops and data reviews, we build a taxonomy and impact model for your target product families, capturing both historical data and tacit knowledge from your teams.
In parallel, we quantify the business case: baseline scrap, rework, escapes, and labor, and what a realistic improvement looks like with AI for quality control. This turns vague enthusiasm into a clear AI development ROI story. Our AI discovery and scoping for quality control engagements are designed specifically for this phase.
By the end of Phase 1, you have a structured defect taxonomy, an impact-weighted priority list, and a roadmap that connects defect population analysis to concrete savings. That’s a far stronger foundation than betting on generic tools.
Phase 2: Dataset creation, model development, and validation
Phase 2 is where the data and models come together. We help you design and execute data collection on your line, from tapping existing cameras to setting up targeted capture flows for rare, critical defects. We also guide labeling: building definitions, workflows, and QC checks so that labeled defect images align with your taxonomy.
On top of that data, we build supervised and anomaly-based defect detection models tuned for your products. Validation is done with realistic distributions and impact-weighted quality inspection AI metrics, not just lab benchmarks. Your quality and operations teams are deeply involved in defining acceptance criteria so the system aligns with how you actually run.
The outcome is a set of product specific AI quality control solutions that know your defects, not just generic ones. They’re ready for shadow mode pilots, not just PowerPoint.
Phase 3: Pilot, integration, and scale-up
In Phase 3, we move from models to systems. We design and run a shadow-mode pilot on one or more lines, integrate with existing AOI, cameras, MES, and QMS, and refine the system with real feedback. This is where we prove that your ai powered inline quality control system can run at speed and catch what matters.
As performance stabilizes, we gradually automate more decisions, roll out to additional lines or plants, and put in place governance and model retraining hooks. For many clients, the journey from discovery to stable inline deployment on the first line is 3–6 months, depending on scope and data maturity.
Throughout, we act as a long-term partner for custom AI quality control development services, not just a one-off model shop. Quality control automation is a living system; we help you keep it aligned as your products, processes, and defect populations change.
Conclusion: Stop Betting on Generic Defect Models
AI will transform manufacturing quality control, but only for teams that start from their own reality. When AI for quality control is engineered around your specific defect population—not generic datasets—it can materially improve yield, reduce escapes, and de-risk your business. Anything less is at best a science project and at worst a liability.
The path is clear: do serious defect population analysis and taxonomies first, design your training data around impact-weighted priorities, choose hybrid model strategies, and implement via shadow mode, careful integration, and ongoing model retraining. Measured this way, the ROI of custom AI quality control development services is not speculative; it’s trackable in scrap, scrap rate reduction, and customer outcomes.
If you’re tired of generic demos that don’t survive contact with your line, it’s time to map your real defect population and build QC AI that actually knows your products. You can start that journey with a focused discovery engagement—see how we structure it on our AI discovery and scoping for quality control page—and move from pilot to production with confidence.
FAQ
Why do generic AI defect detection models fail in real manufacturing quality control?
Generic models are trained on datasets that don’t match your actual defect population—different materials, lighting, defect modes, and process conditions. They tend to perform well on common, easy defects in the benchmark but miss rare, product-specific issues that drive most of your risk. In manufacturing quality control, that gap shows up as missed critical defects, misleading metrics, and eroded trust from quality teams.
What exactly is a defect population and how is it different from a defect list?
A defect list is just a catalog of defect names; a defect population adds statistics and context. It tells you which defects occur, how often, how severe they are, and under what conditions they appear for each product and process. This richer view is what you need to design product specific AI quality control solutions, define priorities, and connect AI performance to business impact.
How do I start collecting and labeling product-specific defect images from my own line?
Begin by inventorying existing image sources: AOI systems, cameras, and even photos inspectors already take. Then set up simple capture flows at key points—rework benches, inline inspection, or end-of-line—to save both good and bad parts into a central repository. From there, create clear labeling guidelines aligned to your defect taxonomy, and use either internal teams, a partner, or a combination to produce consistent labeled defect images for training.
How many defect samples per class do I need to train reliable AI quality control models?
There’s no universal number, but as a rule of thumb 50–200 diverse, high-quality images per defect class is a reasonable starting point for visually stable defects on a given setup. High-impact or visually variable classes may require more coverage over time, while truly rare defects can be handled with a mix of targeted data collection and anomaly detection. The focus should be on diversity (lighting, angles, lots, suppliers), not just raw count.
How can I ensure that rare but critical defects are not missed by the AI system?
First, prioritize these defects in your defect population model and plan targeted data collection to capture enough examples. In the training dataset, you can oversample them or supplement with carefully generated synthetic examples, while keeping validation and test sets realistic. Finally, combine supervised models with anomaly-based methods, and track defect-level recall for these classes as a key quality assurance metric over time.
What is the difference between supervised defect classification and anomaly detection in QC?
Supervised defect classification trains models on labeled examples of known defect types and good parts, making it powerful for stable, well-understood classes. Anomaly detection, by contrast, learns what “good” looks like and flags deviations, even if they don’t match a predefined defect category. In practice, combining both yields more robust AI for quality control in manufacturing, catching both known and novel issues.
How do I integrate AI quality control with my existing AOI, MES, and QMS systems?
The most pragmatic method is to keep your existing AOI and camera hardware and add AI behind it via edge compute nodes and APIs. The AI receives images and triggers from AOI/PLCs, sends pass/fail and defect-class data back to your MES for context, and logs nonconformances into your QMS. For a sense of how we approach this, explore our AI discovery and scoping for quality control and implementation work, which are built to align AI with your current infrastructure.
How often should I retrain my AI quality inspection system as products and processes change?
Retraining cadence depends on how frequently your materials, suppliers, and processes change, but most plants benefit from a combination of periodic and event-driven retraining. Periodic might mean quarterly or semiannual refreshes, while event-driven retraining triggers when you see performance drift or major process changes (e.g., new coating, new tooling). A solid model retraining policy, supported by ongoing monitoring of false negatives and defect mix, keeps the system aligned with your evolving defect population.
How can I measure ROI for investing in product-specific AI for quality control?
Start by quantifying your baseline: scrap and rework costs, inspection labor, escape-related warranty and recall costs, and line downtime. Then estimate realistic improvements—often in the 10–30% range—for scrap rate reduction, first pass yield, and escape rate based on pilot results. The difference, minus implementation and operating costs, gives you the ROI; structured engagements like Buzzi.ai’s AI discovery phase exist precisely to build this business case rigorously.
What does a typical AI quality control implementation project with Buzzi.ai involve?
A typical project has three phases: discovery, build, and scale. In discovery, we map your defect population and build the ROI case. In build, we support dataset creation, develop and validate models tailored to your products, and pilot in shadow mode. In scale, we integrate with AOI/MES/QMS, roll out as an ai powered inline quality control system, and establish ongoing governance and custom AI quality control development services to keep the system aligned over time.
